CRM Onboarding & Targeting
GUIDE:
- Getting Started
- Requesting Access to Your LiveRamp Account
- Direct-to-LiveRamp Account Setup
- Creating an Audience in LiveRamp
- Implementing LiveRamp Segments into a Choozle Audience
- Need Support? Have Questions?
Getting Started
CRM targeting allows you to target individuals from your customer relationship management (CRM) system and run account-based marketing campaigns against a known list of contacts. Leveraging CRM targeting makes it simple to grow your business and serve ads to users who have already demonstrated an interest in your product or service.
Our CRM feature gives you direct access to LiveRamp. This enterprise-level tool for identity will give you unmatched capabilities for precision targeting and personalization, as well as future opportunities to onboard data from other providers.
CRM targeting is currently only available in the United States, UK, and France. For CRM targeting outside of the mentioned countries, please contact your Account Manager or the Choozle Support Center. By leveraging CRM Onboarding, you declare they have proper permission to use the data recorded in this document.
NOTE: Due to data privacy compliance, we do not allow or accept the transfer of any PII, including CRM lists.
While Choozle's team is always happy to assist you with your CRM list, please do not include or attach your CRM list to our team in any communication.
Requesting Access to Your LiveRamp Account
Our CRM feature gives you direct access to LiveRamp; the first step is requesting access through the Choozle platform. The individual who requires access to LiveRamp should be the one to request access. Once our team receives your request, a LiveRamp account will be created for you, and you will receive an invite to get started.
To request access to a LiveRamp account, follow these steps:
- In the Choozle platform, navigate to CRM Onboarding under the Audiences Tab.
- Click Request Access.
- You will receive an email invitation to set up your user account within 1-2 business days.
- Our team will create a LiveRamp account for you, and you will receive a direct invite from LiveRamp that will expire in 24 hours. Once you receive the invite, follow the steps below.
- NOTE: If your LiveRamp account invitation expires, then use this link to accept the invitation. You can also utilize other login support prompts under 'Need Help Signing In?'
- Once your account is created, you can log into LiveRamp directly from the Choozle platform under the CRM Onboarding tab.
Direct-to-LiveRamp Account Setup
At this point, your LiveRamp account has been created by the Choozle team. Follow the steps below to get started.
- Claim your LiveRamp account: You should receive an email from LiveRamp with a link to set up your password. This is a one-time link that expires in 24 hours.
- Reset your password.
- After resetting your password, you should be logged in directly to your LiveRamp account.
- Now that your password has been set navigate back to your LiveRamp account.
Creating an Audience in LiveRamp
You can upload a CRM list directly to LiveRamp in just a few minutes.
For CRM data, you’ll be charged $1 CPM against all CRM records uploaded. You will be charged based on the number of records uploaded within a month's timeframe. There will be no additional charge for the refresh or upkeep of your CRM records in subsequent months unless you upload new records.
By uploading data, you acknowledge you have the right to utilize the data and for this express purpose. You're authorizing that you have explicit opt-in privileges to use these audiences and include any opt-out options within your website's privacy policy.
Let’s create your first audience in LiveRamp
- Access your LiveRamp account by logging directly into LiveRamp or through the Choozle platform under the CRM Onboarding tab.
- Click “Audiences” on the left side menu to set up a new audience. Click “+New Audience”.
Note: LiveRamp Audiences are equivalent to segments in the Choozle Platform. An audience is a way to group your users within LiveRamp; sometimes, you only need one audience. Learn more here. - Name your audience and select the PII device type. Click “Create Audience”. Your audience should appear upon saving. ***The CRM audience segment will show up in Choozle with the File's naming convention, not the Audience's naming convention***
- IMPORTANT: Include your Advertiser Account name within the name of the file you are uploading, to prevent any delays in distribution.
- On the left side menu, click “File Upload”.
- In the dropdown, select the audience you just created. The option to upload files will appear. Use this template to upload your data.
- Upload your file.
- When the list is ready, the audience will be available in the Choozle data catalog under the CRM list section for use on any Ad Group (typically 48-hour turnaround time).
Additional LiveRamp Documentation:
File Specifications & Requirements
User Management in LiveRamp
With the direct integration from Choozle to LiveRamp, you can invite other users who may require access directly to your LiveRamp Account.
- In LiveRamp, on the left side menu, click Company Settings. You can add or delete users and update their access level from here.
Implementing LiveRamp Segments into a Choozle Audience
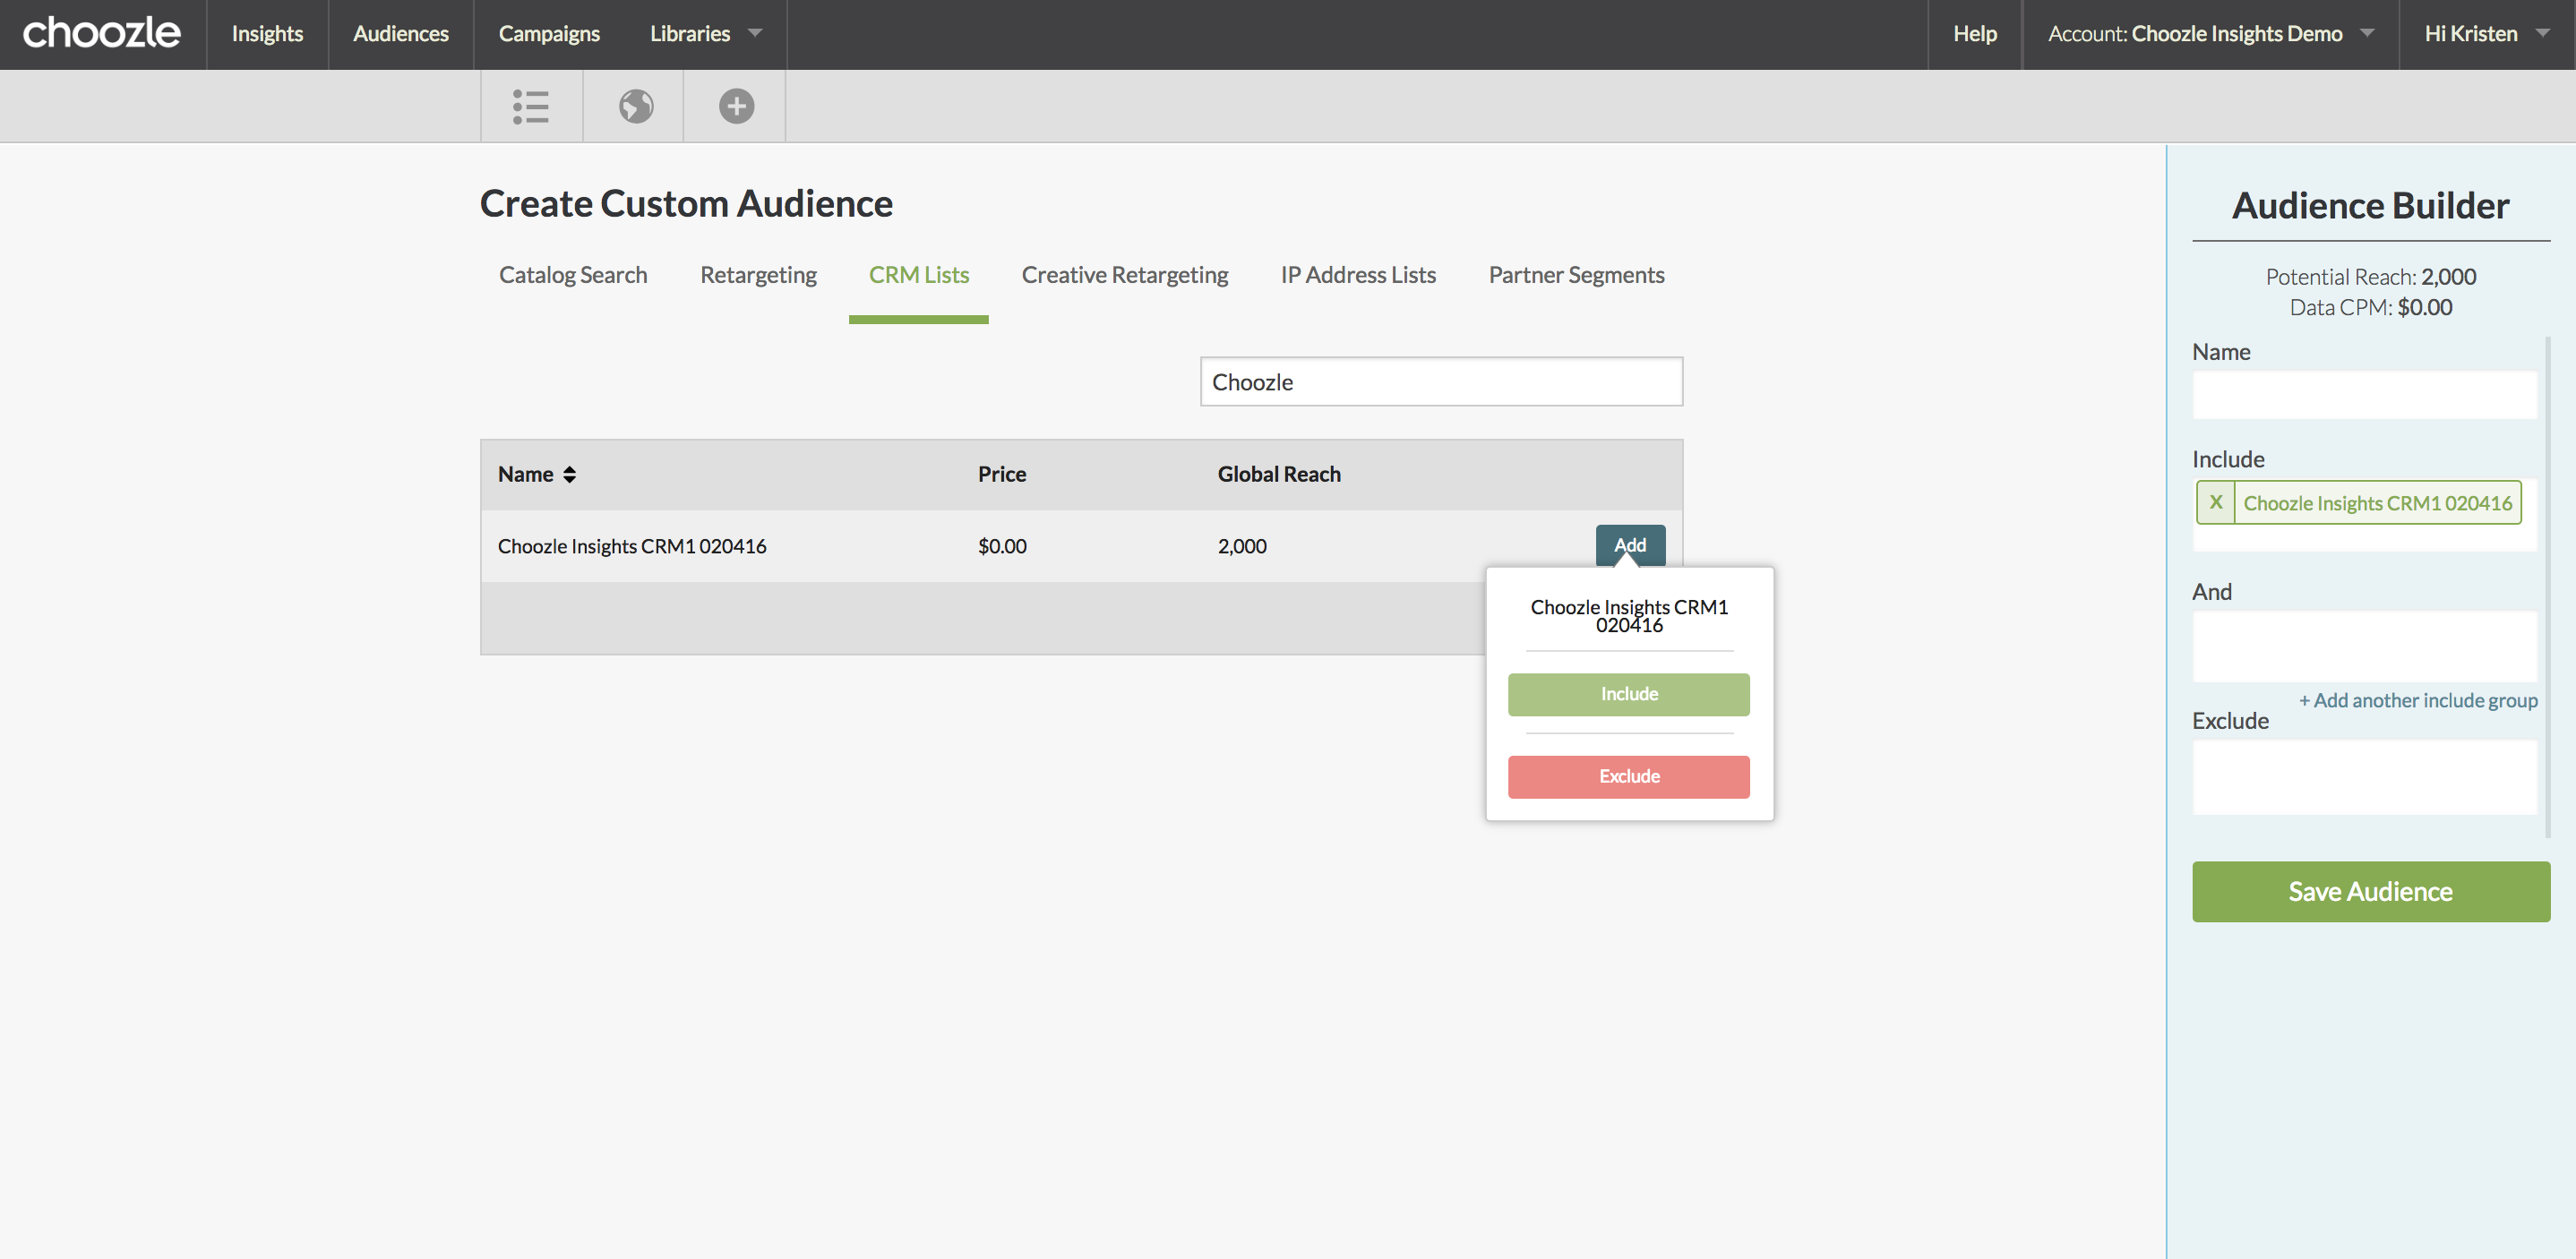
- Once your CRM list has been converted into a targetable segment in LiveRamp, you will see the segment available within the Choozle platform. NOTE: LiveRamp Audiences are equivalent to segments in the Choozle Platform.
- In the Choozle platform, navigate to the Audience tab. Click “Add Custom Audiences”.
- Click the CRM Data Tab.
- Click the desired segment you created in LiveRamp and choose "Include" or "Exclude" it in the Audience Builder.
- Once the custom audience is complete, input a name for the custom audience and select Save Audience.

- Saved custom audiences can be applied in the Targeting section of the ad group setup.
Need Help?
If you have any additional questions please reach out via your Customer Support Portal!